The most popular advice about laundry room sizes is also the least useful: choose an average footprint and fit the machines inside it. That's not how you should plan a high-end Phoenix home. Start with the appliance configuration, then reserve the floor needed to load, fold, store supplies, and move through the room without negotiating an open dryer door.
For owners comparing luxury home builders or planning luxury whole house remodeling, the right question isn't how large the laundry room should be. It's whether the finished room will support your household's actual routine, including future appliance replacement.
Recommended Laundry Room Sizes by Layout
Laundry room sizes by layout
These are starting footprints, not guaranteed fits. Treat the comfortable column as the design target, then test the equipment, cabinetry, and circulation before fixing the walls.
| Layout | Minimum footprint | Comfortable size | What it holds |
|---|---|---|---|
| Stacked appliance closet | About 25 sq ft | 30–35 sq ft | Stacked pair 23–27 in wide; hamper; little counter; height often 63–78 in |
| Side-by-side one-wall room | About 33 sq ft, 60 by 80 in | 40 sq ft, 5 by 8 ft | Two machines about 54–55 in wide, a 42 in aisle, light folding |
| Everyday dedicated room | 40 sq ft | 54 sq ft, 6 by 9 ft | Side-by-side pair, short counter or sink, cabinets, one user |
| Workroom with sink and storage | 50 sq ft | 60–80 sq ft | Utility sink, folding counter, hampers, hanging, cabinetry |
| Laundry combined with mudroom | 64 sq ft, 8 by 8 ft | About 80 sq ft | Drop zone, lockers or a bench, laundry, path to a secondary entry |
| Large-home multipurpose laundry | 100 sq ft planning allowance | 100–150 sq ft | Homes over 3,000 sq ft; linen, pet wash, or a second folding zone |
The compact and dedicated-room bands draw on the approximately 25–80-square-foot framework summarized by UpCodes' laundry planning guidance, including a 5-by-8-foot room for side-by-side appliances and folding. The stacked equipment widths, heights, and connection-space considerations follow Whirlpool's laundry room sizing guide; the comfortable closet allowance is an editorial planning target, not a code minimum.
For the single-row baseline, Refined Space's layout analysis combines 5 inches for connections, a 31-inch appliance body, 2 inches for the door and handle, and a 42-inch aisle, producing approximately 60 by 80 inches, or 33 square feet. That's useful appliance-and-user space, not a full luxury workroom.
The 54-square-foot, 6-by-9-foot benchmark comes from Block Renovation's sizing guide. For combined rooms, Lily Ann Cabinets' mudroom guide cites a 64-square-foot, 8-by-8-foot starting point, while Houzz's published laundry examples include an 80-square-foot room. The large-home band is a programming allowance for additional functions, not a requirement based solely on house size.
Choose the equipment layout before the footprint
Choose stacked appliances when preserving adjacent living space matters more than generous folding space. Don't assume stacking makes the room easier to use. Upper controls, drum access, and lifting laundry can make a narrow installation unsuitable for the person doing the work.
Choose side-by-side appliances when transferring, sorting, and folding should happen together. For a primary household laundry, I recommend protecting usable counter space before adding decorative cabinetry.
Then add the secondary functions deliberately:
- Utility sink: Reserve its cabinet and standing area, not just the bowl.
- Another user: Provide somewhere to work without occupying the loading position.
- Through-route: Keep household traffic separate from appliance operation.
- Future replacement: Avoid a cabinet opening that only accepts the current model.
Planning rule: A minimum footprint proves that equipment can fit. A comfortable layout proves that people can use it.
Why One Laundry Room Size Misleads
Square footage describes the floor, not the work path. A kitchen doesn't function merely because its cabinets fit, and a laundry room doesn't function merely because its appliances fit. The relationship between stations matters more than an average room area.
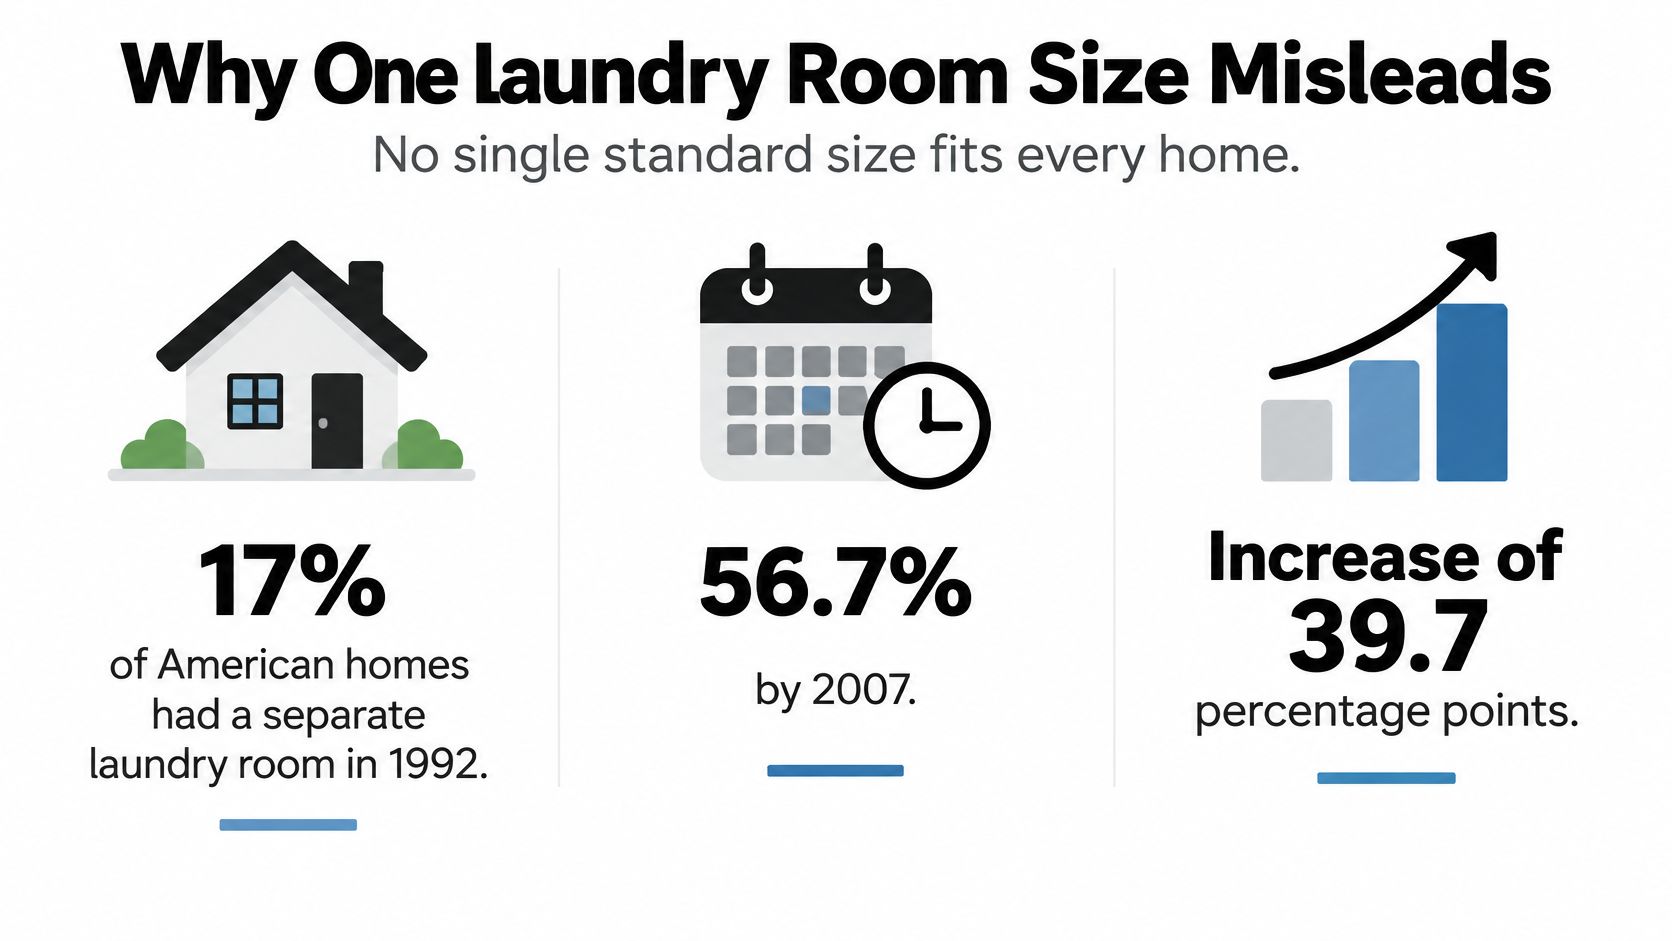
The national benchmark also reflects changing expectations. A Los Angeles Times report citing research conducted for GE stated that 17% of American homes had a separate laundry room in 1992, compared with 56.7% by 2007, an increase of 39.7 percentage points. The same report described an average laundry-work area of 47 square feet, enough for a full-size washer, dryer, sink, and hampers, with American families washing an average of seven loads per week.
An average isn't a floor plan
That historical average describes an allocation of space. It doesn't tell you where the entry door sits, whether the machines face a counter, or whether someone must cross the loading area to reach the garage.
Take a hypothetical narrow laundry with an inward-swinging entry door. The appliance pair fits along the wall, but the dryer opens toward the only place a person can stand. Adding a sink at the far end won't solve that conflict, even if the total room area sounds generous.
Don't approve the room by its square footage. Approve it by the tasks you can perform without moving something else first.
For a Scottsdale-area luxury home, define laundry day before approving the plan. Who sorts the clothes? Where do sheets wait? Does someone hang garments immediately, or carry everything to a bedroom?
Those answers determine the storage, counter arrangement, and circulation. During a whole-house remodel, an adjacent closet or poorly used passage may contribute more practical value than extending the laundry's longest wall.
Appliance Depth Doors and Dryer Vents
A dryer can sit cleanly inside an elevation drawing and still paralyze the room the moment someone opens it. Closed depth is not operating depth. The size matrix only works if every footprint is proved against the appliance envelope, the swing of the door, and the floor a person needs to load, fold, and walk past.
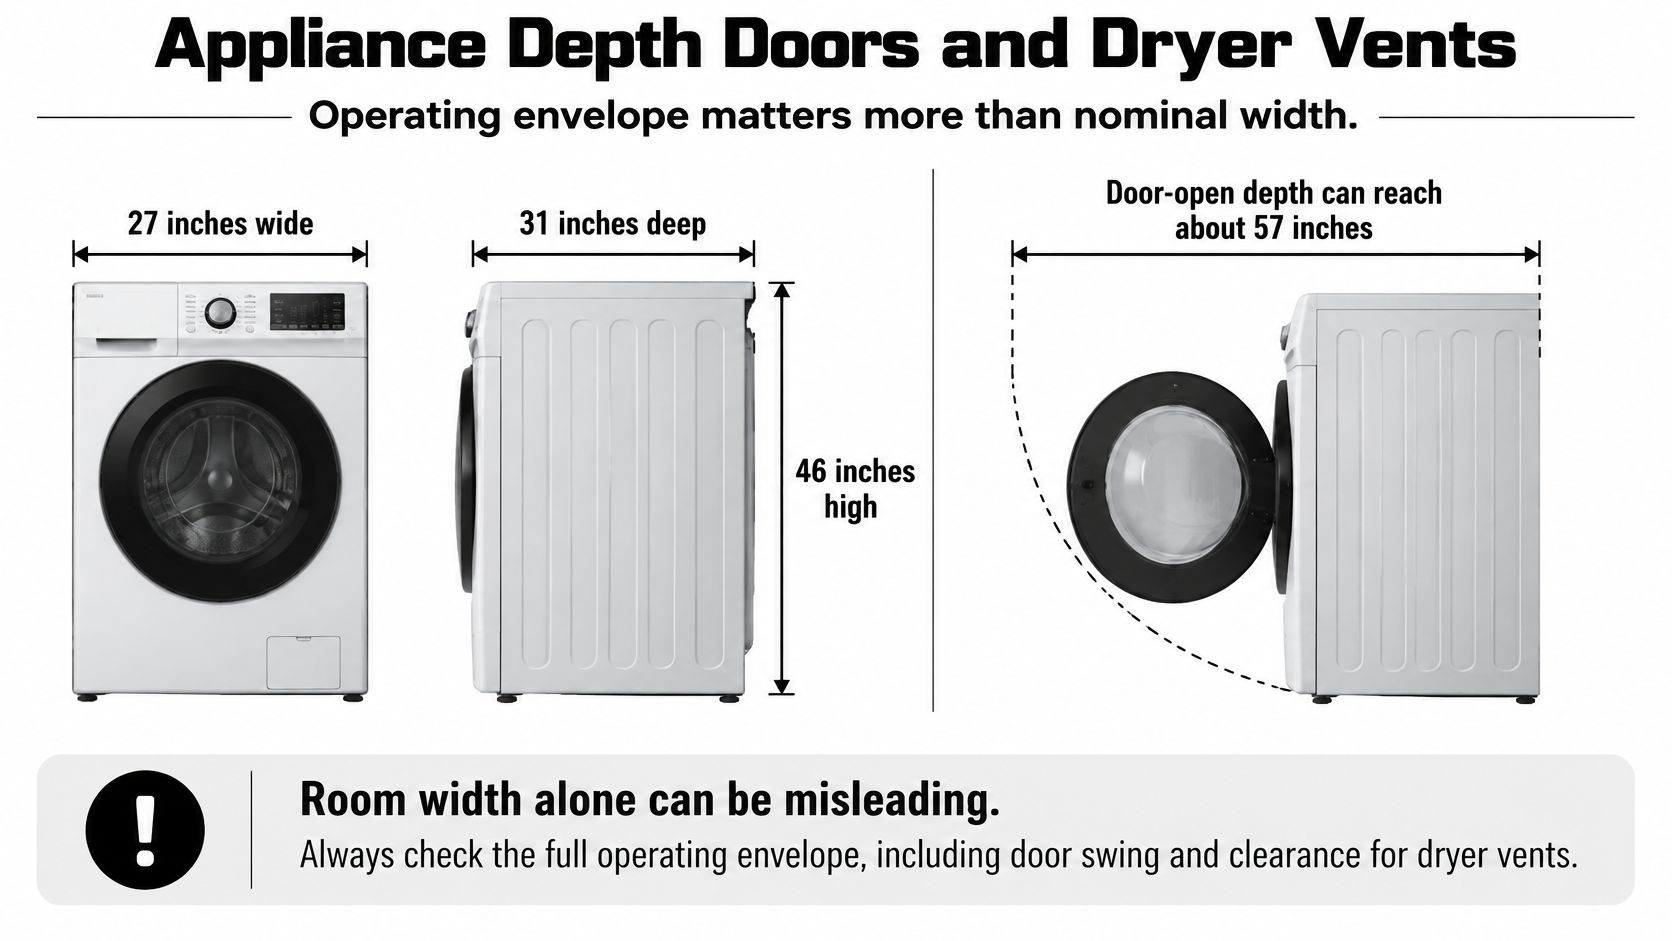
Use the manufacturer's installation drawing, including the open door, rather than the dimensions on a retail product card. For a representative full-size electric dryer, plan on 27 inches wide, 31 inches deep, and 46 inches high, with a door-open depth of approximately 51.75 inches. Treat those as typical planning values. The selected model's installation sheet controls the final layout, and that open depth is the total appliance envelope, not extra projection beyond the closed body.
Appliance and vent dimensions that resize the room
| Item | Planning dimension | Why it matters |
|---|---|---|
| Side-by-side pair | About 54–55 in wide and 27–34 in deep | Sets the equipment run before cabinets |
| Sample full-size dryer body | 27 in wide, 31 in deep, 46 in high | Cabinet depth isn't operating depth |
| Dryer door open | About 51.75 in total depth | Can block a counter, island, or opposing machine |
| Stacked pair | 23–27 in wide, 26–34 in deep, often 63–78 in high | Narrow floor plan with reach and ceiling limits |
| Space behind machines | About 5–6 in planning allowance | Hoses, drain, electrical, and venting |
| Single-row working aisle | About 42 in baseline, or a 48–52 in work zone | Test the person and open door together |
| Dryer termination | Not within 36 in of an operable window, door, or indoor-air intake | Influences exterior termination placement |
These ranges are preliminary coordination dimensions. The selected manufacturer's clearances control, especially for alcoves, stacking kits, combustible surfaces, and service access.
Treat the exhaust route as a wall-placement decision
For exhausted dryers, the NKBA design guidelines recommend an independent rigid exhaust duct terminating outdoors, accessible vent and lint-trap maintenance, and an exterior termination not within 36 inches of an operable window, door, or indoor-air intake.
Resolve that route before positioning a tall cabinet or committing to an appliance wall. An exterior wall often simplifies the run, but it isn't the only workable location. The designer and mechanical contractor should coordinate the permitted duct arrangement, fittings, and termination against the dryer instructions and applicable local requirements. Every elbow in the run adds resistance the machine has to push against, so the shortest compliant path is usually the right one.
For practical maintenance context, Purified Air Duct Cleaning's dryer fire prevention guidance for homeowners is a useful companion when discussing cleaning access with your contractor.
Don't let cabinetry trap the machines
Keep shutoff valves, connections, and service points reachable. A removable appliance shouldn't require dismantling a permanent counter or damaging finished panels.
Specify how the machines slide out and where the technician stands. For top-loaders, check the raised lid against upper cabinets. For stacked installations, check the dryer controls and the approved stacking hardware. Choose the appliances before approving the cabinet shop drawings, not after fabrication begins.
Clearances for Work Zones and Accessible Use
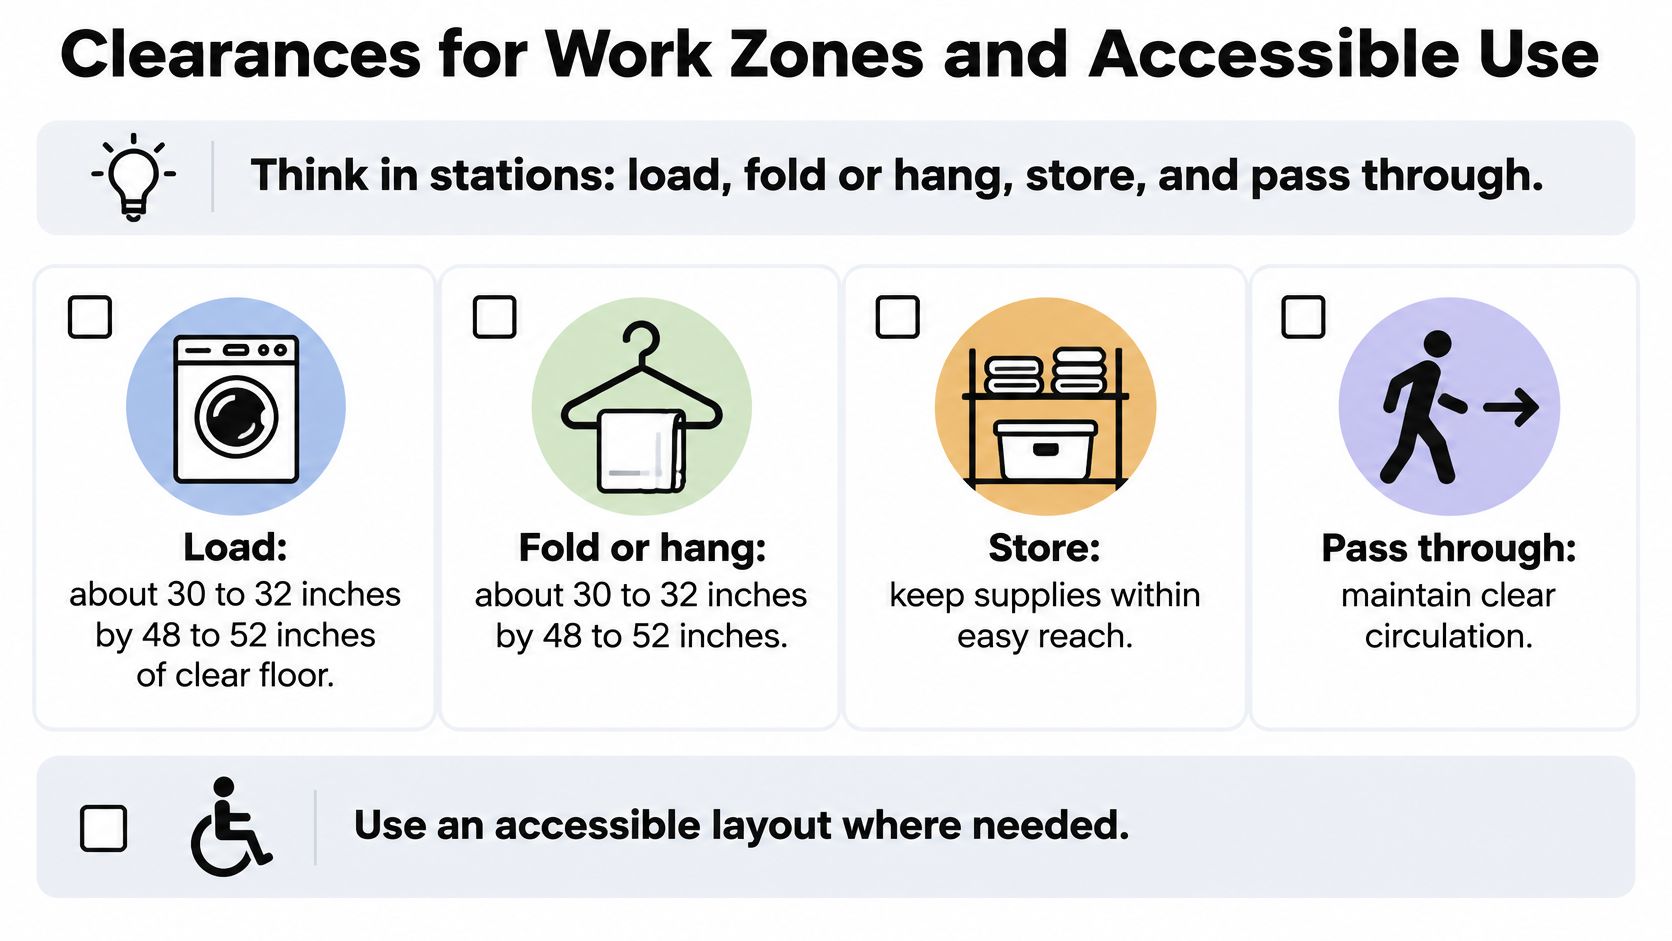
Organize the room around loading, folding or hanging, storage, and passage. These functions can sit close together, but they shouldn't compete for the same occupied floor area.
The NKBA planning guidelines recommend approximately 30–32 by 48–52 inches of clear floor at each activity center, with a 48–52-inch work-zone width. For side-by-side appliances, that supports reserving roughly 4 feet of unobstructed operating space in front of the equipment run rather than squeezing cabinetry into every available gap.
Give each task a usable position
Place sorting hampers near the washer without parking them where the user needs to stand. A pullout hamper can tidy the elevation, but its extended position belongs on the floor plan.
Put folding space within an easy transfer path from the dryer. Don't make the hamper lid the only available work surface, and don't place hanging garments where they interfere with loading. A dedicated hanging position also keeps damp clothing away from cabinet doors.
Storage deserves the same scrutiny. Frequently used supplies should be reachable from a stable standing or seated position, not hidden above a deep appliance where the user must lean awkwardly.
- Loading: Draw the appliance door open and show where the user stands.
- Folding: Preserve an uninterrupted surface that isn't also the household drop zone.
- Hanging: Keep garment length and reach in mind when locating the rod.
- Storage: Check drawers and pullouts in their extended positions.
- Passage: Provide a route that remains usable while laundry work is underway.
Activity-center clearances may overlap when the tasks happen at different times. That doesn't make the same area a dependable hallway. A secondary-entry laundry needs a traffic route that doesn't force someone carrying groceries through the occupied loading position.
Separate accessibility requirements from good residential design
The ADA isn't automatically the governing standard for a private single-family laundry. Your design team must establish which accessibility requirements apply to the project. Voluntary universal design can still improve a home for aging owners, guests, and multigenerational households.
Where applicable, the U.S. Access Board's guide to the ADA laundry provisions requires a 30-by-48-inch minimum clear floor space, centered on each appliance for a parallel approach, without level changes or slopes steeper than 1:48. Required clear space must remain unobstructed by enclosures and open doors.
Access dimensions for laundry appliances
| Requirement | Dimension | Planning note |
|---|---|---|
| Clear floor space | 30 by 48 in minimum, centered, parallel approach | Not the same as a circulation hall |
| Floor condition | No level change; slope no steeper than 1:48 | Keep the clear space flat |
| Front-loader opening | Bottom 15–36 in above finished floor | A pedestal can push this out of range |
| Top-loader door | No higher than 36 in above finished floor | Check raised platforms before rough-in |
| Later adaptation | Utilities positioned to allow access changes without structural rebuilding | Voluntary future-ready design beyond today's minimum |
The opening-height limits come from ADA Section 611.4, which places the bottom of a front-loader opening 15–36 inches above finished floor and limits a top-loader compartment door to 36 inches above finished floor.
Preserve options before closing the walls
Pedestals can reduce bending for some users, but they aren't universally helpful. Evaluate the opening height, controls, detergent access, and loading movement together.
For a future-ready room, consider a removable cabinet beneath a seated folding position, reachable shutoffs, and utility locations that won't prevent later reconfiguration. The accessible-ready housing guidance hosted by the University of Connecticut supports planning adaptations without significant structural or building-service changes.
Future-access test: Could someone use this room differently without opening the walls or rebuilding the appliance surround?
Check Your Plan Against the Numbers
Run this check on the dimensioned floor plan before permitting and cabinet release. Use the appliance installation sheets, a scale drawing, and a tape measure to confirm that the proposed arrangement matches the actual room.
Record the exact equipment. Write the washer and dryer model numbers on the appliance schedule. Include closed depth, total door-open depth, top-loader lid height, connection allowances, and manufacturer-required installation gaps.
Choose the appropriate layout band. Start with the equipment arrangement, then enlarge the program for a sink, another user, or a through-route. Don't treat a minimum appliance room as a finished multipurpose workroom.
Draw connections behind the machines. Show the washer box, drain, receptacles, and dryer connection. Check that the selected fittings fit without crushing the exhaust or forcing the appliances farther into the aisle.
Mark occupied work positions. Draw the loading and folding zones as actual shapes on the plan. If accessibility is required, show the centered approach spaces and verify the floor conditions rather than assuming an open-looking room qualifies.
Swing every door. Include the entry, appliances, tall cabinets, and opposing storage. An appliance door necessarily enters its operating area, but it must not create a collision or obstruct a required accessible clear space.
Simulate a working laundry day. Place a hamper at the washer, open the dryer, and mark where someone folds. Then trace the route of another household member entering from the garage or secondary door.
Approve the exhaust and maintenance route. Identify the exterior termination, nearby openings, lint-filter access, and appliance removal path. Resolve conflicts while they're still drawing changes.
Make the check part of the larger remodel
A laundry relocation affects more than cabinetry. During luxury renovations and whole-home remodeling, we evaluate the existing property, household goals, and budget before advising whether remodeling or rebuilding offers better value.
Keep the approved equipment schedule with the construction documents. If the appliance selection changes, have the designer recheck the room before anyone assumes the replacement is equivalent.
Luxury Home and ADU Laundry Examples
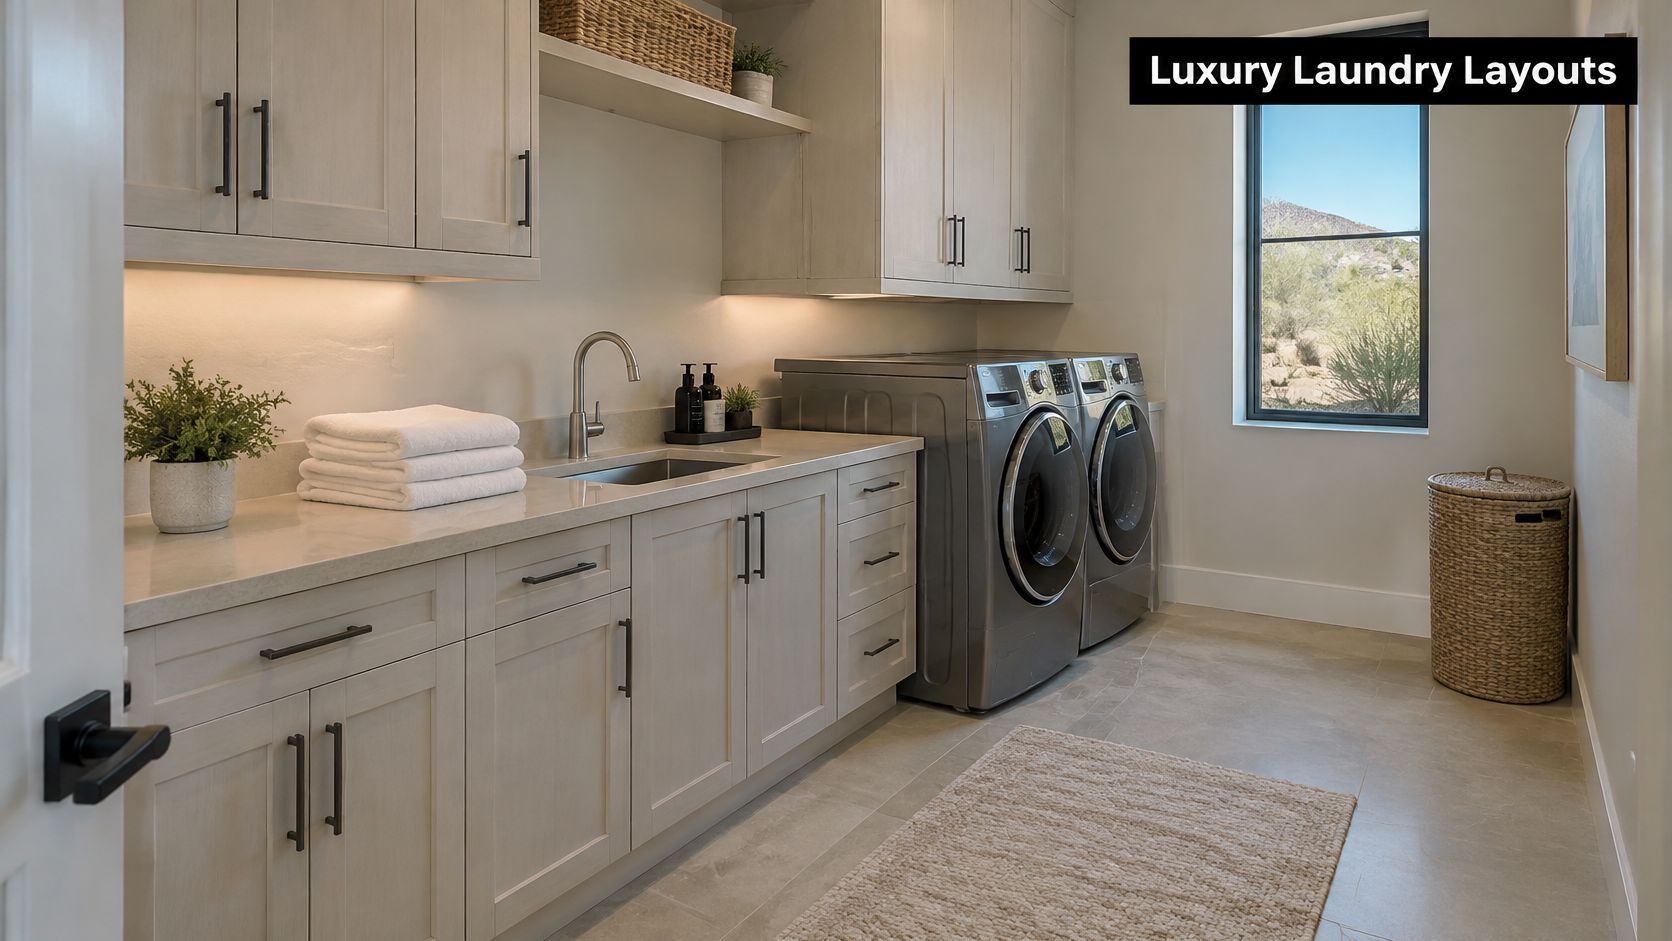
A well-planned laundry should feel suited to its household, not oversized for its own sake. Cedreo's laundry planning guide describes typical rooms of 50–100 square feet, with 100–150 square feet possible in homes larger than 3,000 square feet. Use that larger band when the work program earns it, not because the residence is expensive.
A primary household workroom in Scottsdale or Paradise Valley
Say a family wants laundry near the bedroom wing, with linen storage and space to manage bedding. Choose the workroom band, then move into the large-home multipurpose band if a pet wash or separate folding station joins the program.
Put linen storage near the room's exit so clean items don't cross the sorting position. Keep the utility sink beside a usable landing surface, and separate any pet-washing activity from clean folding.
An island is optional. If opposing counters support the routine with less walking and fewer obstructions, the simpler arrangement is the better luxury choice.
A secondary-entry laundry in Arcadia or the Biltmore corridor
For a household entering with shoes, bags, and sports equipment, choose the laundry-mudroom band rather than adding a bench to a compact appliance room. Position the drop zone close to the entry and the laundry work farther from the traffic line.
A bench shouldn't project into the dryer's operating area. Lockers need their own opening space, and wet shoes shouldn't accumulate beneath the folding counter.
A combined room succeeds when someone can arrive home without interrupting the person doing laundry.
Use durable, cleanable finishes at the entry and keep the clean-clothing route distinct from the arrival route. That's a circulation decision before it's a finish-selection decision.
A casita or multigenerational suite
For an independent suite, start with the stacked-closet or compact dedicated-room band, then evaluate the actual user. A younger guest may accept a compact stacked installation that an older parent can't comfortably operate.
Planning accessory dwellings and multigenerational suites also requires deciding whether residents wash everything independently or share the main home's laundry. That decision affects capacity, storage, and the need for an in-suite folding surface.
Don't shrink the laundry merely because the dwelling is accessory. Preserve usable loading access, a manageable control height, and a service route. Across all these scenarios, favor removable fillers and accessible connections over custom enclosures that make the next appliance purchase unnecessarily difficult.
Hire a Luxury Builder Before Walls Close
Choose the laundry layout during design, not after the cabinets are ordered. Appliance configuration, door swings, utility locations, and exhaust routing affect one another. A late switch from stacked to side-by-side equipment changes the clear floor area, control heights, and shutoff access across the room, not just the appliance line item.
When comparing luxury builders, ask each one to show the laundry on a coordinated plan. The room should work with the bedroom wing, the secondary entry, guest accommodations, and household storage. A contractor who treats it as an isolated finish package will hand you a room that looks complete and loads poorly.
Choose purposeful design over unused area
Emery Lane Homes was built on the idea that homes should be designed around how families live, not around trends, wasted space, or unnecessary complexity. The team evaluates your existing property, goals, and budget to advise whether a major remodel or a new residence delivers better value.
For projects across greater Scottsdale and surrounding Phoenix-area neighborhoods, Emery Lane Homes offers custom luxury home design-build, luxury whole-house remodeling, and ADU services, including casitas and multigenerational suites. The design-build process covers pre-construction planning, permitting and HOA coordination, construction management, and closeout support.
Before that first planning meeting, arrive with three things:
- The property information: the existing plan plus any proposed additions or suite conversions.
- The routine: who handles laundry, what gets stored, and where household traffic passes.
- The appliance selections: model numbers let the team coordinate real equipment instead of placeholder boxes.
If a new residence better supports your household, explore the built-to-suit home process. Hire a luxury design-build contractor before approving walls and cabinetry, and make the laundry workflow part of the initial property review.
Emery Lane Homes offers custom luxury home design-build, major renovations, and ADU services throughout greater Scottsdale and the Phoenix area. Visit Emery Lane Homes to arrange a property and planning discussion, bringing your laundry wish list, existing floor plan, and appliance models so the team can help shape a room around how your family lives.